Crossed Stitches
When working crossed stitches, one stitch or a group
of stitches are worked after the next stitch or group.
One thing to keep in mind is that crossed stitches make
a denser fabric because it increases the yarn tension.
This will effect your gauge. Good looming habits are a
must with crossed stitches. If you do not wrap
loosely, you will find it next to impossible to move
the stitches.
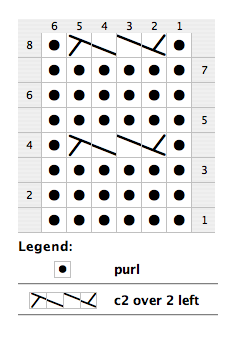
There are two basic types of crossed stitches: the
cross stitch and the cable stitch.
| Crossed Stitches | ||
|---|---|---|
| Stitch | How Many Stitches Involved | Aids Used |
| Cross | Two Stitches | |
| Cable | Two Groups of Stitches | Cable Needle |
In needle knitting, the first stitch always stays back for a right cross and it stays front for a left cross. On the knitting board, it's the opposite. You will be setting up your rows prior to wrapping for the stitch pattern and you will set them up in the same order as you start wrapping most stitch patterns, from left to right. In addition, you will only be working crossed stitches on one side of the fabric, on the bottom rake. Use the charts below to determine which stitches stay in front and which stay in back when working on the knitting board. Because there are knitting board knitters who also loom knit, directions are given to setup your knitting board from right to left as well to match the way you do it in circular knitting. If you setup your stitches before knitting off the row, you can just memorize the sequence for circular knitting and always setup the rows from the right to the left. Because some people prefer to setup the rows in the same manner that you knit it, both information is provided.
The following chart is for setting up the knitting board moving from left to right. Note: Setting it up, Front is on the bottom and Back is on the top.
| Crossed Stitches setting up Left to Right | |||
|---|---|---|---|
| Direction | Grouping | Position | |
| Right | First | Back | |
| Right | Second | Front | |
| Left | First | Front | |
| Left | Second | Back | |
The following chart is for setting up the knitting board moving from right to left. Note: Setting it up, Front is on the bottom and Back is on the top.
| Crossed Stitches setting up Right to Left | |||
|---|---|---|---|
| Direction | Grouping | Position | |
| Right | First | Front | |
| Right | Second | Back | |
| Left | First | Back | |
| Left | Second | Front | |